


So, when I got word in December that my application was accepted to be a vendor in the wonderful Off-White Wedding Show, I knew I was going to have to make a totally badass booth. After doing the show previously and seeing some of the amazing set ups that other vendors had, I started brainstorming for ideas in January, and realized I was going to need to get creative…and maybe a little bit handy. I knew that I wasn’t allowed to hang anything on the walls at the venue hosting the show, and as a photographer, that makes stuff sort of difficult. In doing some research regarding booth set ups, I’d seen people create a variety of things to hang their work on, but i knew I wanted something neutral and clean to serve as a blank canvas for my images. I didn’t want to do a slideshow on a monitor, and I didn’t want to hang things from a pipe and drape; I wanted my set up to look professional and high-end, but still be affordable and on-brand for me (isn’t that the dream, though??). So, after narrowing things down, here were my inspo images:
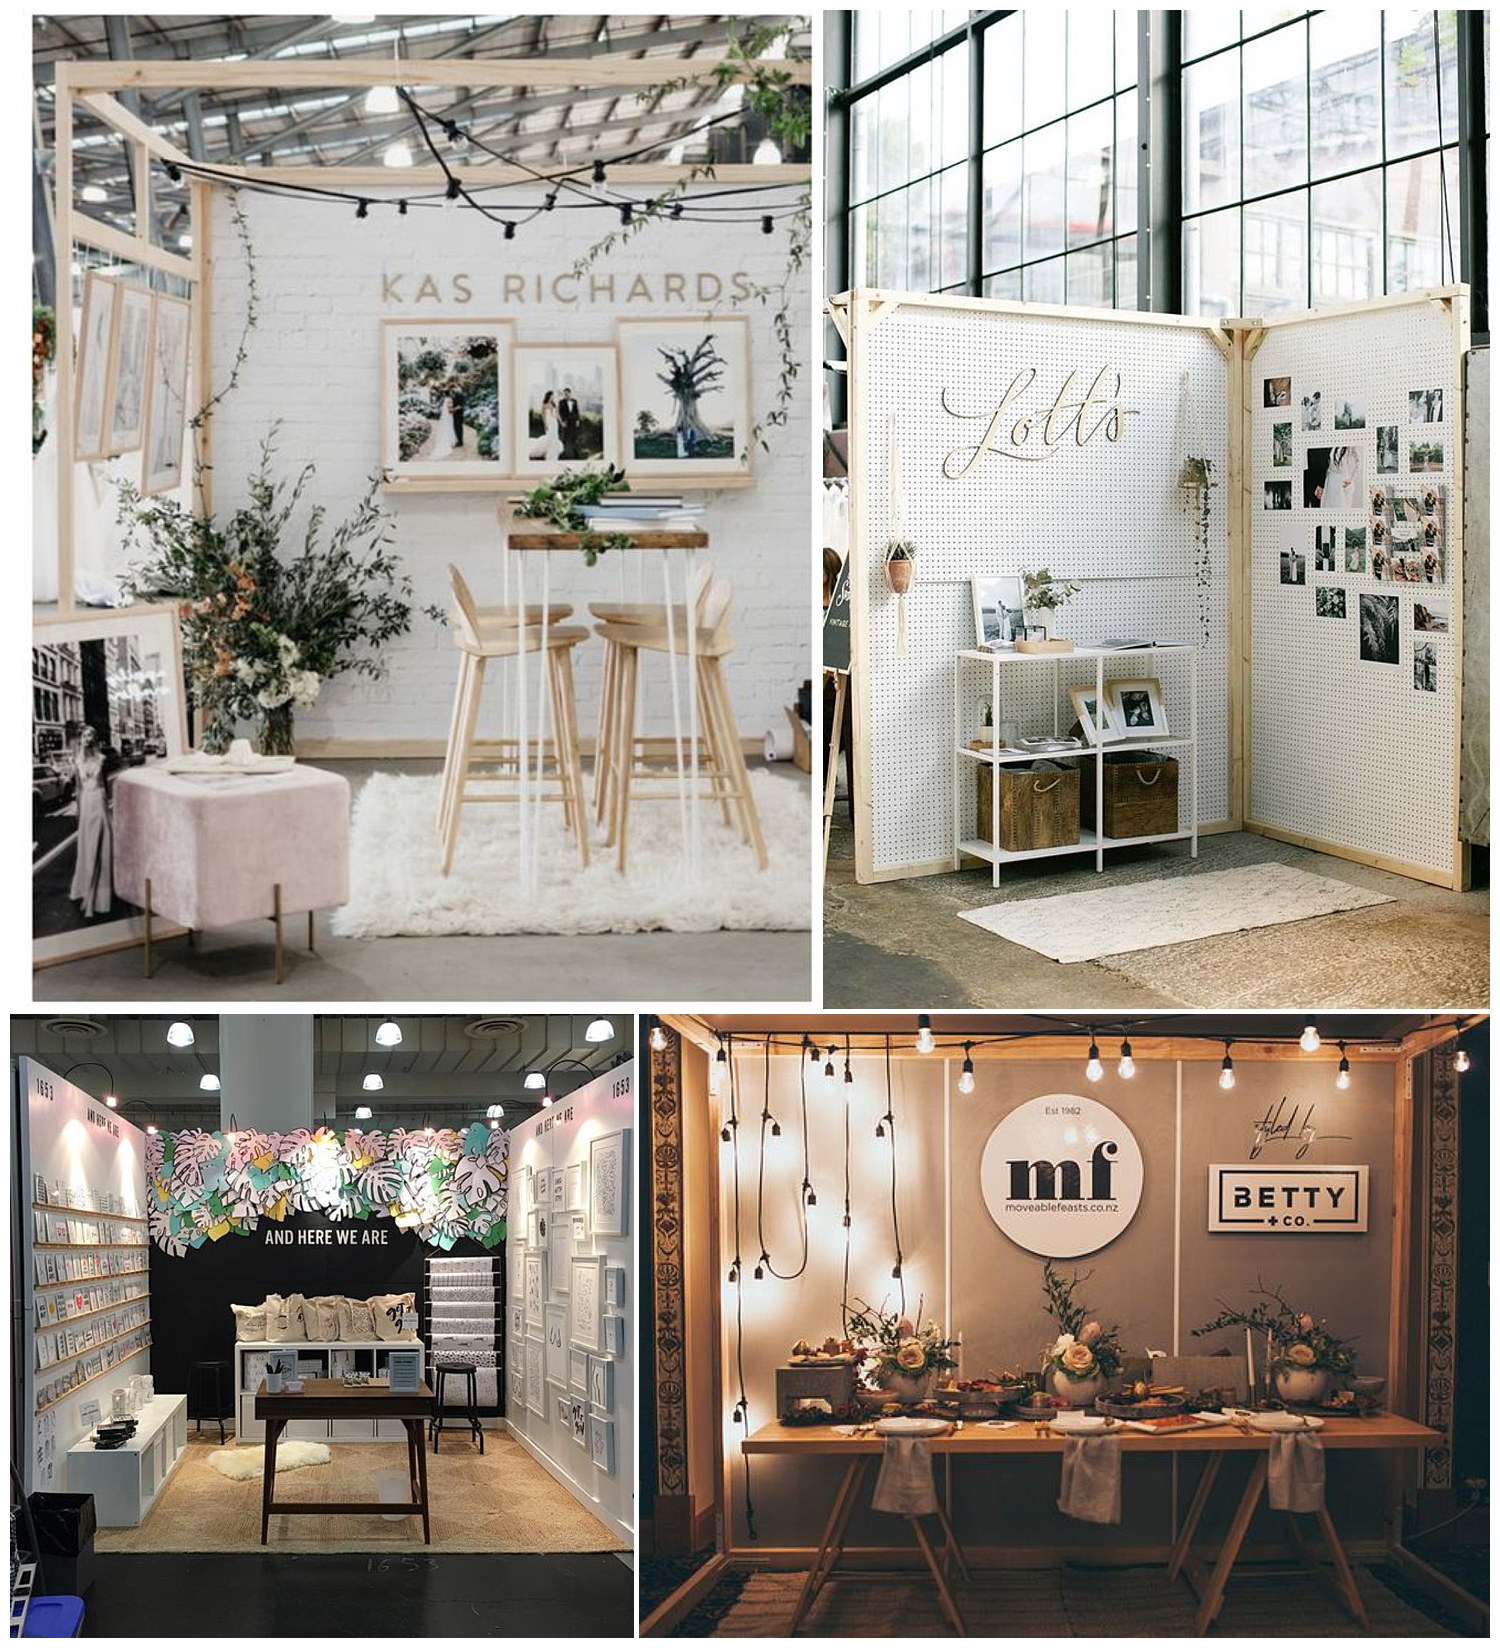
Take a look at all of them on my Pinterest board, here!
https://www.pinterest.com/norasandovalphoto/wedding-show-insp/
Looking at my inspiration images and thinking through things logistically, I came to the following conclusions; I wanted my booth to be :
- Self-Standing, clean and simple; I needed to create some sort of backdrop that I could mount my work on to let it shine
- Portable; I really didn’t want to have to rent a huge truck to schlep stuff back and forth
- Easy to set up; I knew that I only had an hour and a half or so to load in and get everything set, so whatever I made, it needed to be fairly straightforward to assemble onsite.
- Permanent – I wanted to build something that I could reuse in the future for other wedding shows and that would hold up decently being stored in the basement.
Thus, back to the research! I found this wonderful article from a stationner, Rebekkah with Wild Ink Press, about how she assembled her booth for the National Stationery Show, which was incredibly helpful:
http://wildinkpress.com/blog/2011/05/10/to-build-a-booth-and-other-tales/.
She made her booth out of 4’x4’ plywood and what I thought were 2’x4’s (upon further investigation, I’m pretty sure they were 1x3s); Each 4’x4’ sheet was framed into a box, and then the boxes were attached together to create a freestanding L-shaped wall, on which she mounted all of her work. Since she didn’t give a step by step to create the boxes, I studied the images that she shared and came up with a strategy to recreate the process.
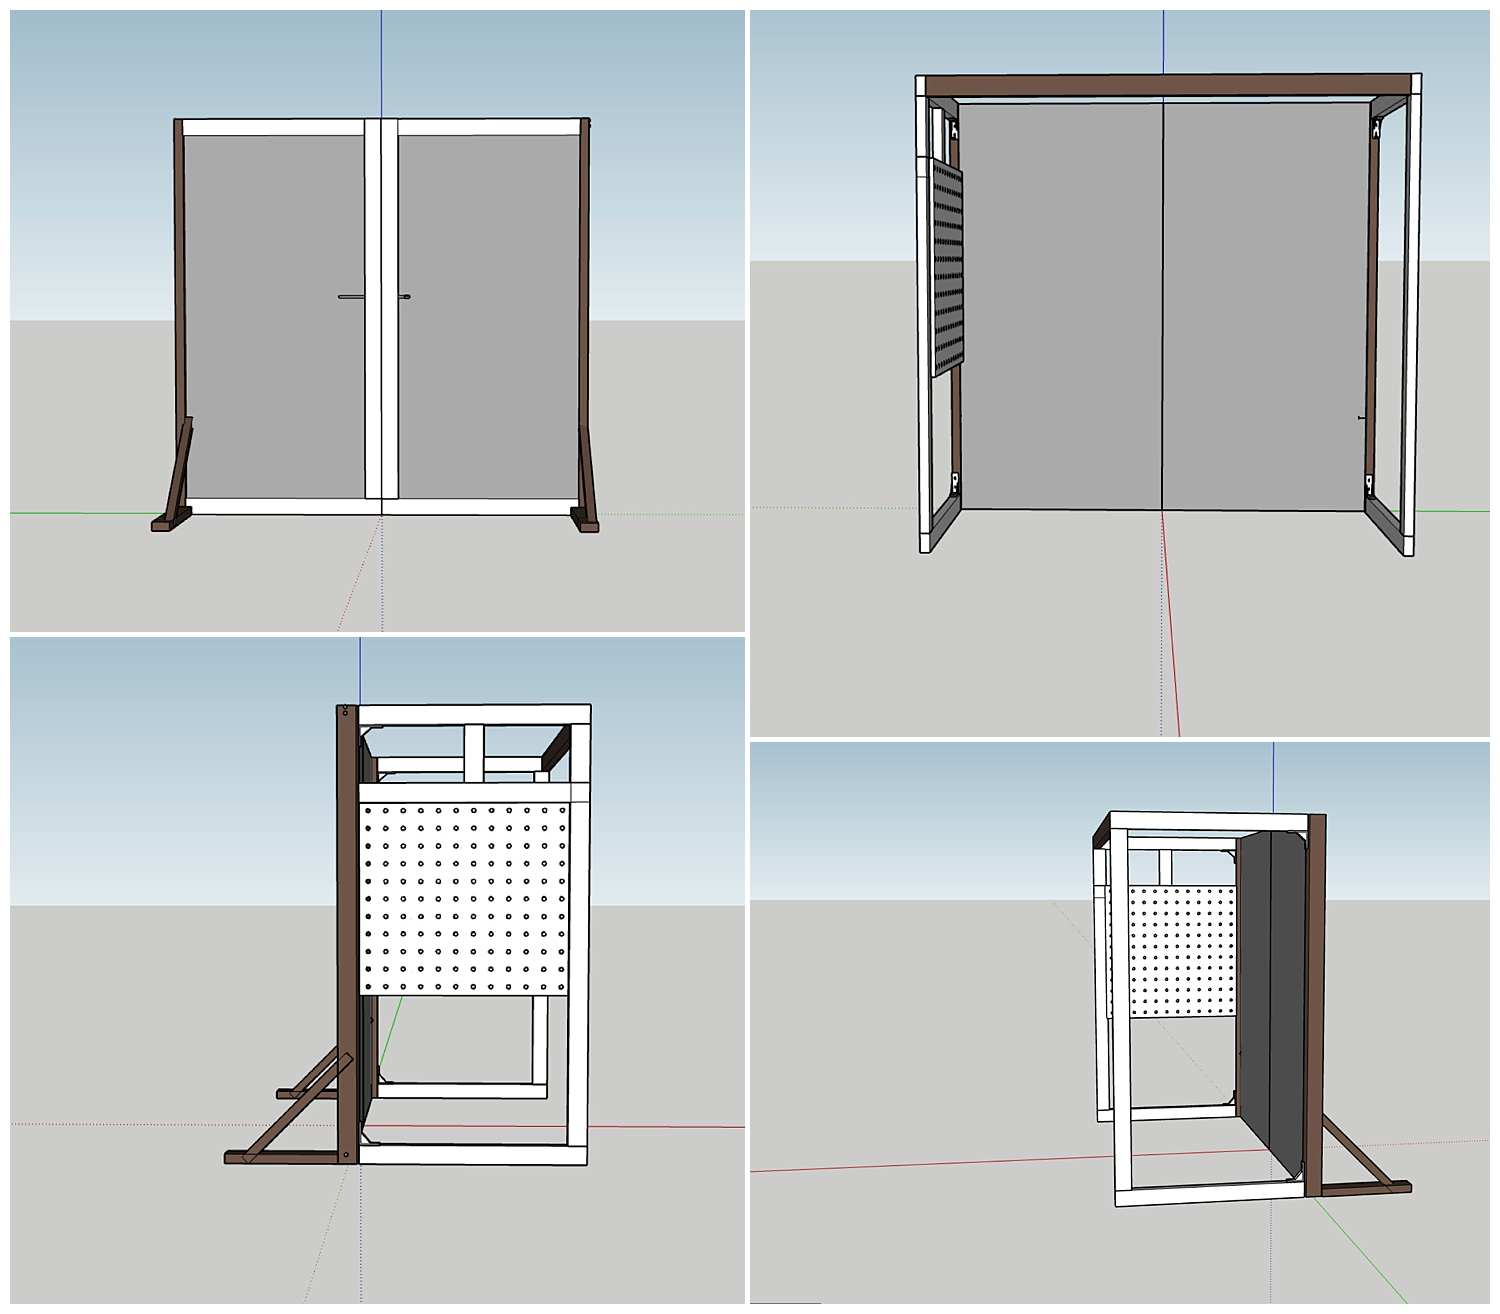
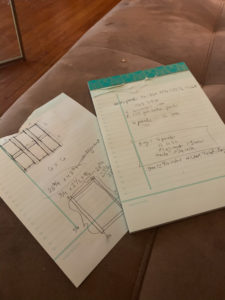
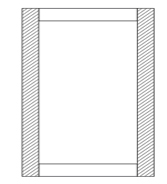
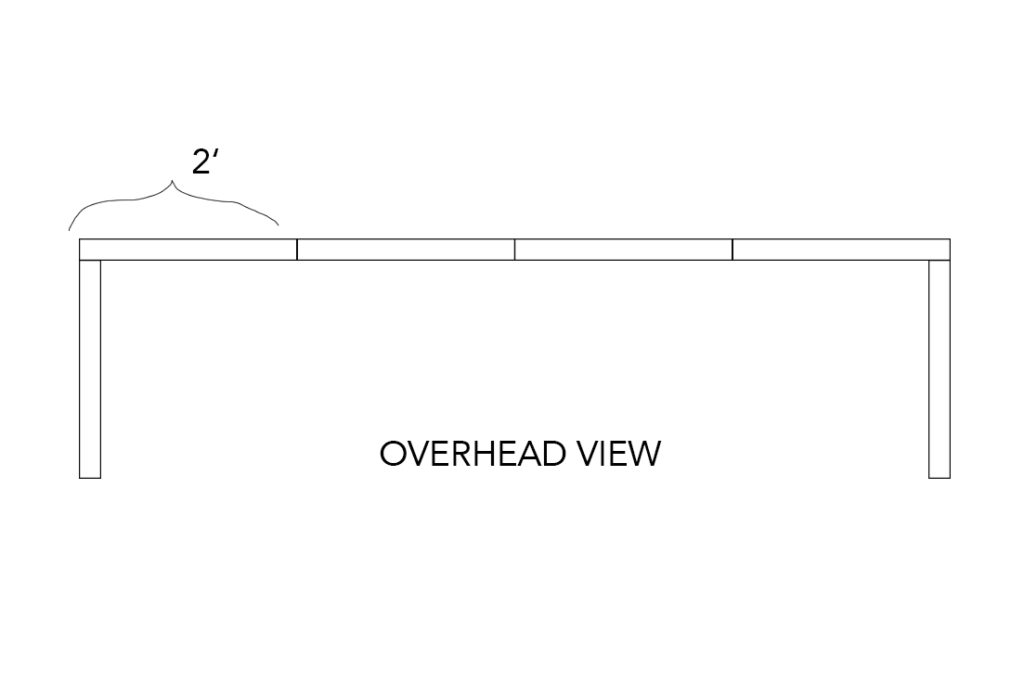
My allotted booth space was 10’x10’, so I figured I would build an 8’ wide wall to put along the back, and then 2 4’ wide walls along each side; this would delineate my space, but also leave some room for me to move within it and not feel too clausterphobic. I was going to leave the side walls open or half-cover them with pegboard and mount smaller prints, akin to the inspo photo top-left. I did a mock-up in SketchUp (which is an awesome cloud-based program I used when I was in school for interior design and can be super helpful once you get used to it; there is a bit of a learning curve, but once I got over the seasickness factor from moving in 3D, I became a superfan), which is below:
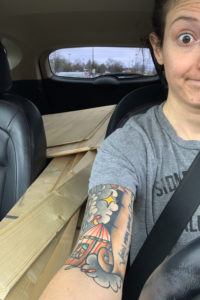
Then, I got to work and made Trip #1 to the Home Depot. I bought my 4’x4’ plywood sheets, amongst other things, and thus, I was on my way. I didn’t get too far, though; unfortunately, despite my having measured my car and feeling fairly confident that everything would fit, I couldn’t manage to get the 4’x4’s inside. No matter how much Tetris I did, the 4’x4’s were about 3” too big to fit in the truck, or through the side door. And, the plywood wasn’t pliable enough to bend to squish in there either. So, tail between my legs, I retreated back inside the Home Depot to return my 4’x4’s and start thinking about what else I could do instead. In retrospect, I was actually quite glad that all of this happened, because the guy who checked me out had overcharged me when I purchased the 4’x4’s and the woman who processed the refund caught it. So, silver lining there!
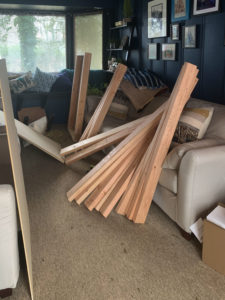
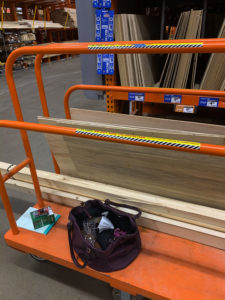
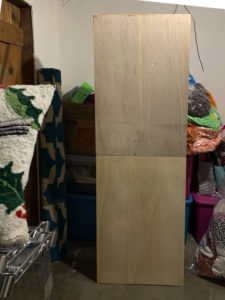
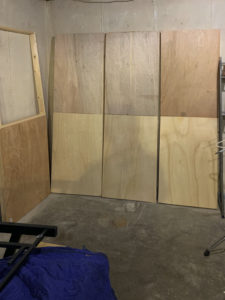
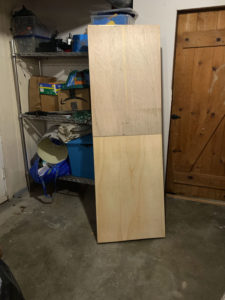
So, I regrouped and realized I was going to have to go smaller; I decided that instead of 4’x4’s, I’d make 2’x4’ panels. I’d have to do more work on the front end, but the convenience of being able to fit them in my car was a tradeoff I was willing to take. In order to create the set up I wanted, I was going to need to make 16 boxes to fasten together (one eight foot wall for the back and two four foot walls for the sides). I sat down and did some math, and then returning to the Home Depot (Trip #2), I bought 2’x4’ MDF panels and some 2’x4’s along with some wood screws. I also purchased a circular saw, since I knew that I was going to do need to do some cutting. We had a jigsaw on hand, but with all of the lumber I was moving and my propensity for cutting things crooked, I was concerned it wouldn’t be suffifient. I also picked up some clamps, which were a game changer. It’s amazing how much accurate your angles will be when you clamp stuff down and don’t try to use your own body as leverage, I mean….really.
Thus I began assembling with my 2x4s and MDF. I wish I could say that this was a project where the first thought was the best thought, but it truly was anything but. Hence, this blog post: hopefully y’all can learn from my mistakes and skip these first three failure to launch adventures. I tried the following permutations to assemble my 2’x4’ boxes:
Based on the warp of the 2’x4’s, I wasn’t sure which of the below would allow for the most stability; I was going to do the best I could to make sure that they were even now, since I was going to stack them later and wanted to make sure that they were steady and not prone to tipping over. I really wanted to avoid having to create some sort of thing to prop them up, and really wanted them to just self-balance; alas, the dreams of the young…but more on that later. I made a few test versions of each, and after assembling several frames, I went to mount my MDF on them to create my boxes. That’s when I ran into my second problem.
In my excitement to Build Something™, I forgot one minor detail and one major suggestion of construction: measure twice, cut once. Also, 2” x 4” beams are NOT actually 2” x 4.” I learned this at one point a long long time ago when I was in school for interior design, but conveniently blanked on this piece of information; they are actually only 1.5” x 3.5”. This meant that, when I went to attach my MDF, which was 24” x 48,” my frames were not the correct size, and not uniformly incorrect, to boot. Hooray!! Then, to add insult to injury, I dropped a 2’x4’ on the top of my foot, which actually really hurt pretty badly. Defeated and cranky, I hobbled upstairs and took a break.
I’m not going to put you guys (or myself, for that matter) through the immediate next steps of the process, which included some cursing, some crying, some checking my numbers and then cursing some more and then the ultimate decision to start from the beginning and make a couple of changes first. Part of this conclusion came from the fact that, after I dropped the 2×4 on my foot, I realized how heavy the setup was going to be – the 2×4 frame and the MDF together actually weighed much more than I thought they would, and considering I’d have to transport all of this myself, I wasn’t sure that was the best bet. Since I was starting over anyway, I decided to go with some new materials, and ended up purchasing 2”x4” underlayment sheets and 1”x3” whitewood common boards— note here that they are actually 3/4” by 2.75” and yes, I did measure twice to make sure.
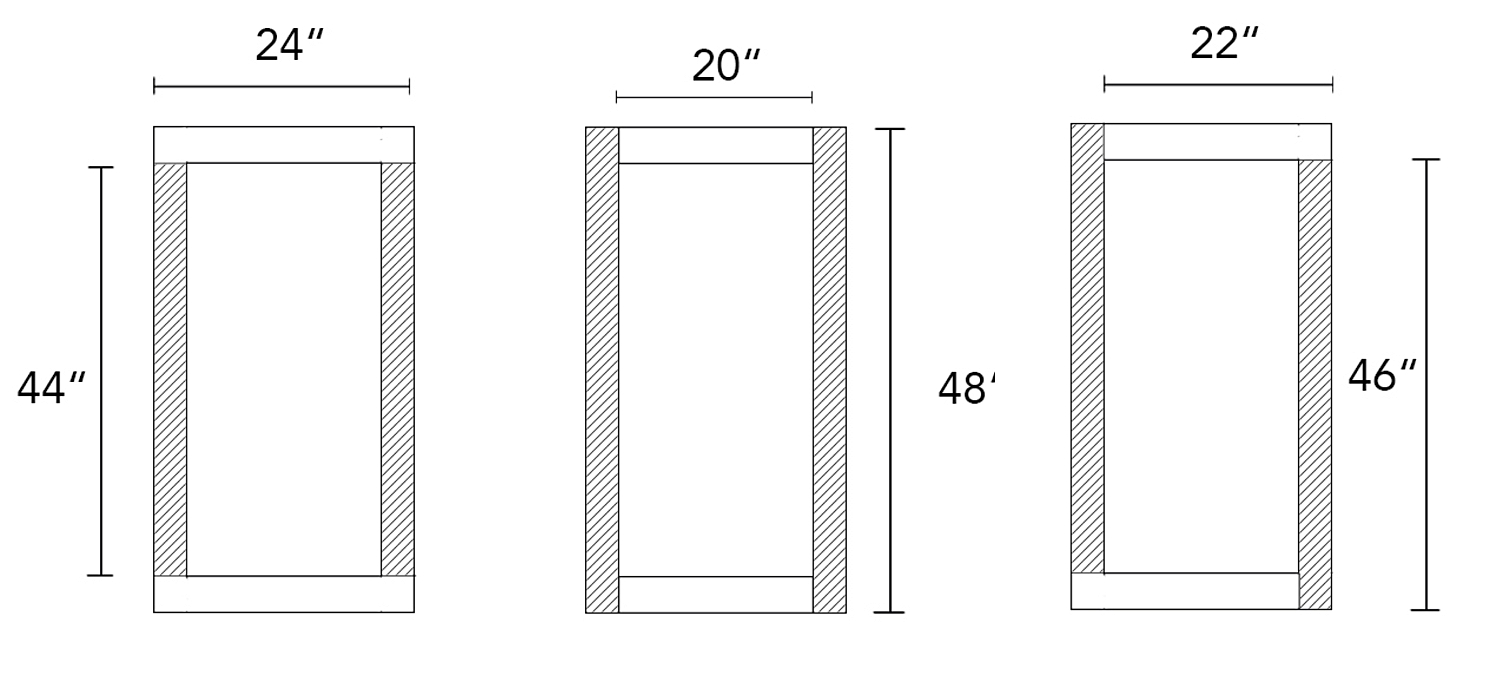
I also decided to decrease the number of boxes I was going to build, with the thought that, if this method worked, I could always build more if I needed to. I chose to downsize each box in the name of decreasing weight, and decided to make them 3’ tall instead of 4’; If I did it again, I think I would stay with the 4’ height, as the finished project was a little shorter than I wanted it to be. I assembled this in this way:
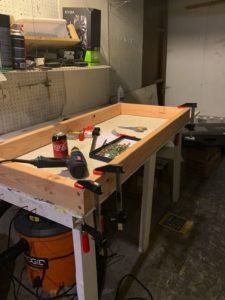
The short pieces were 22.5” and the long pieces were 36.” I attached them to each other at the corners by using two wood screws inserted through the long pieces to hold the short ones in place. One thing to note here is that since they’re whitewood boards, they are pretty soft and it was easy to accidentally overdrill, so just an FYI if you try this yourself.
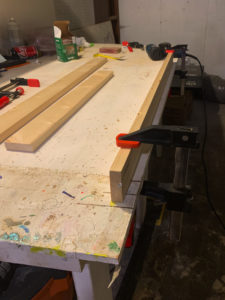
If I could do it again, I think I might try to miter the corners so they meet at an angle and make a true rectangle, but hindsight is 20/20. I did the best I could to make them exactly the same size and even square (read, lots of clamping), but even so, when I laid the underlayment over the frame, it was too big on each size – about 12″ on the bottom and a little on each side, since it came in sheets that were 24″x48″, but, better too big than too small.
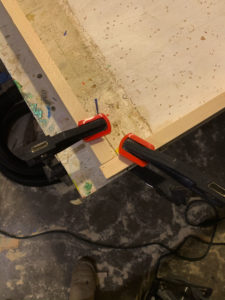
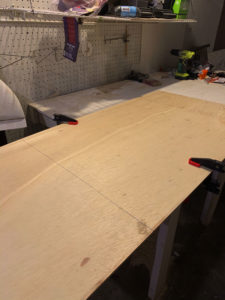
In order to cut it down to size correctly, I traced around the frame on the underlayment, and then cut it with the circular saw to shave off just the right amount, which ended up being anywhere from 1/2 to 3/4 on each side and 12 inches on the bottom.
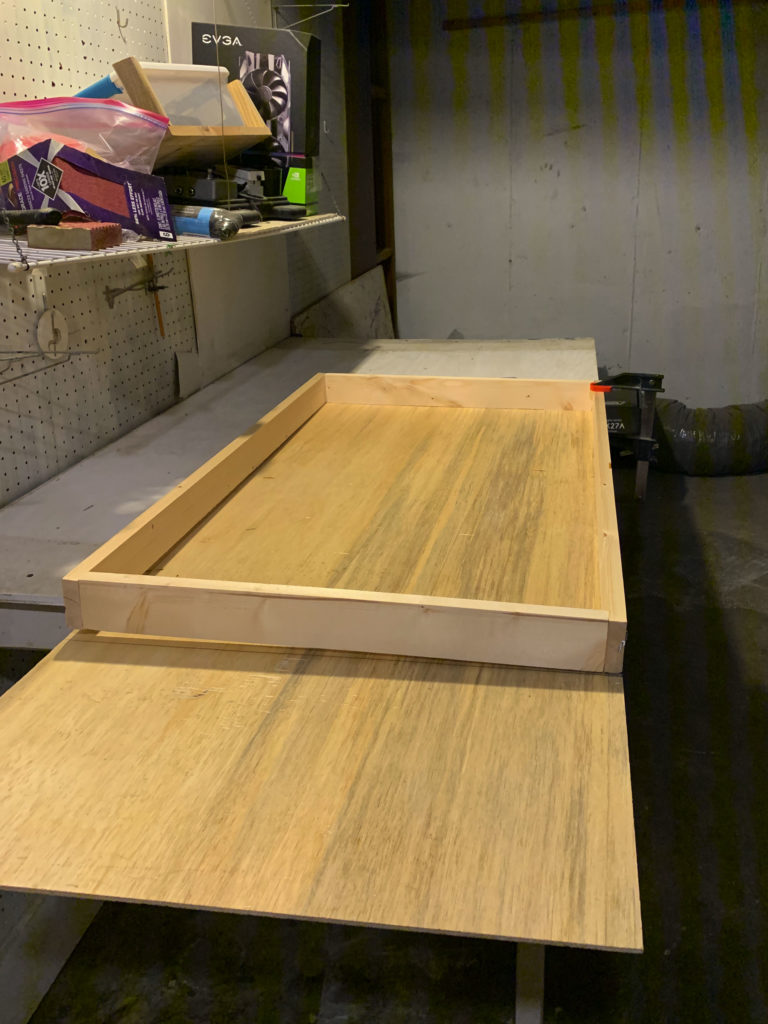
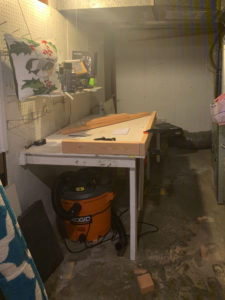
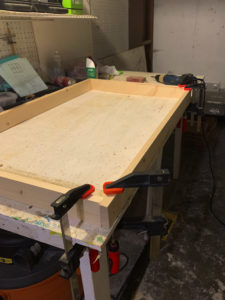
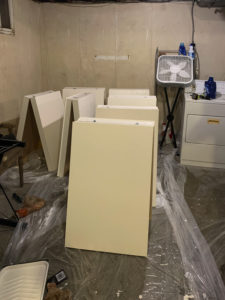
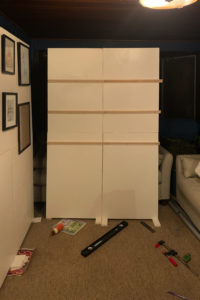
Then, I attached the underlayment sheets to the frame using wire nails. When all was said and done, I ended up with 12 boxes — enough for one 8’ x 6’ wall, and two 2’x6’ walls for the edges, which would make a shallow U when assembled.
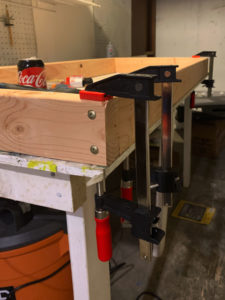
I then had to figure out how to attach the boxes together; in her blog post, Rebekah from WildInk Press showed a picture of the boxed being hinged together, so they could fold up on top of each other and stand their full height. It looks like they attached the hinges to a triangular corner piece, but I just attached them to the frame. I tetris’ed the boxes to try to find pairs that fit together naturally, and used two hinges per box to attach them to each other. It took some thinking through things so as not to attach the hinges upside (noob mistake) but once I got going with this, it was pretty easy.
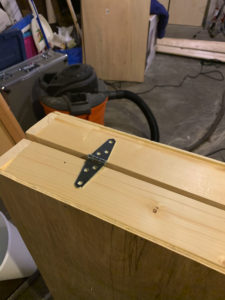

Once they were hinged together and extended to the full height, I used a 3/4” drill bit to drill two holes through the frames and used two carriage bolts and nuts to lock them in place. I repeated the process for all of my boxes, until I had 4 panels for the back and 2 for the sides.
At this point, I decided to paint panels just so I could envision better what my next steps would be. I tried spray paint (the paint & primer in one kind, since none of the wood I was using had been pretreated and I knew it would most likely need to be primed), but I would noooooooot suggest this; it didn’t cover very well at all, took almost one can for one 2’x3’ panel and, since it was February and freezing, made our entire house smell like spray paint for like two days. Giving up on that, I went back to the Home Depot (trip number I’ve lost count at this point) and bought a gallon of Behr Premium latex paint. I threw two coats of that on there, and boom, problem solved. I’m glad I got the gallon, cuz after all was said and done and I’d done multiple coats as well as done the trim, I used almost the whole thing.
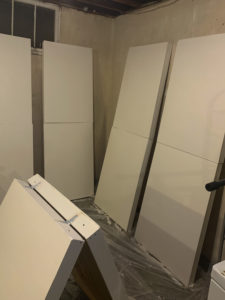
Then, I lined them up next to each other, to see how they looked. Each panel was fairly straight, but several of them did lean a little. I tried to arrange them next to each other in the way that they seemed to fit best, so I woulnd’t have to bend or warp anything too much to create one solid face. And, since the frames were a little smaller than the panels and I didn’t want to cut them too small when I attached the panels, some of them had a little bit of overlap where the panel jutted out beyond the frame, preventing them from sitting flush next to each other. When I realized this was going to be an issue, I went back to the jigsaw to cut the panels down to be flush with the edge of the frame. I also used my orbital sander to whittle away at the edges if the jigsaw couldn’t get close enough.
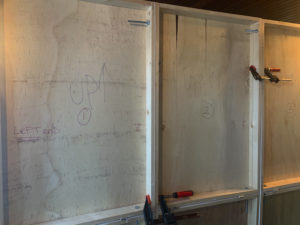
Once all of the edges were flush and I had the panels lined up next to each other, I had to figure out how to attach them to each other. I labeled them with post-its once I had the final order just so I didn’t get confused.
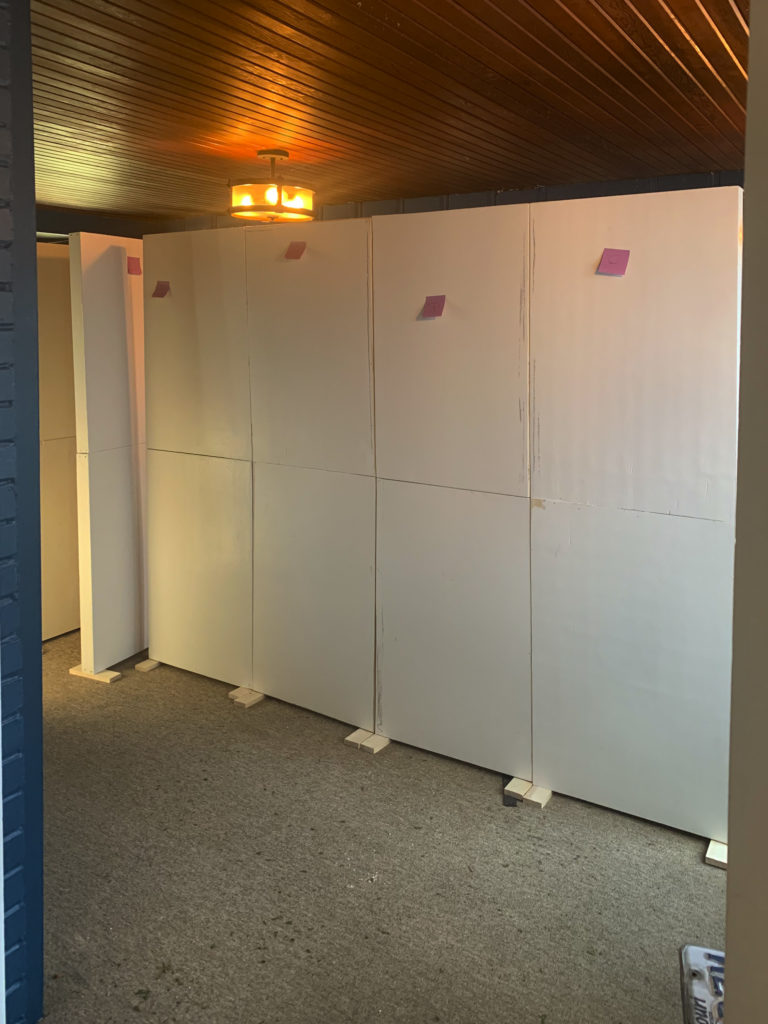
I wanted to make sure that I attached them temporarily, so I could break them down into their 2’x3’ components for transport. So, I used more carriage bolts to attach them to each other. Looking back on it, I might have forgone the carriage bolts, or purchased shorter ones, since I spent a lot of time screwing them in and out; I could have used clamps — either the ones I have for my backdrop stand, or the ones I was using for construction — to hold the wall together. Pretty sure they would have worked just fine and it could have saved me some time in assembly. At this point, I realized that, while they did stand up on their own, I wasn’t sure how sturdy they were, and I didn’t really want the whole thing to come crashing down on me or any potential clients during the show. After deliberating about it, I decided to add feet, just to ensure stability. I used some of the extra 1x3s I had on hand, cut them down to about 6” long, and attached them to the corners of the box.
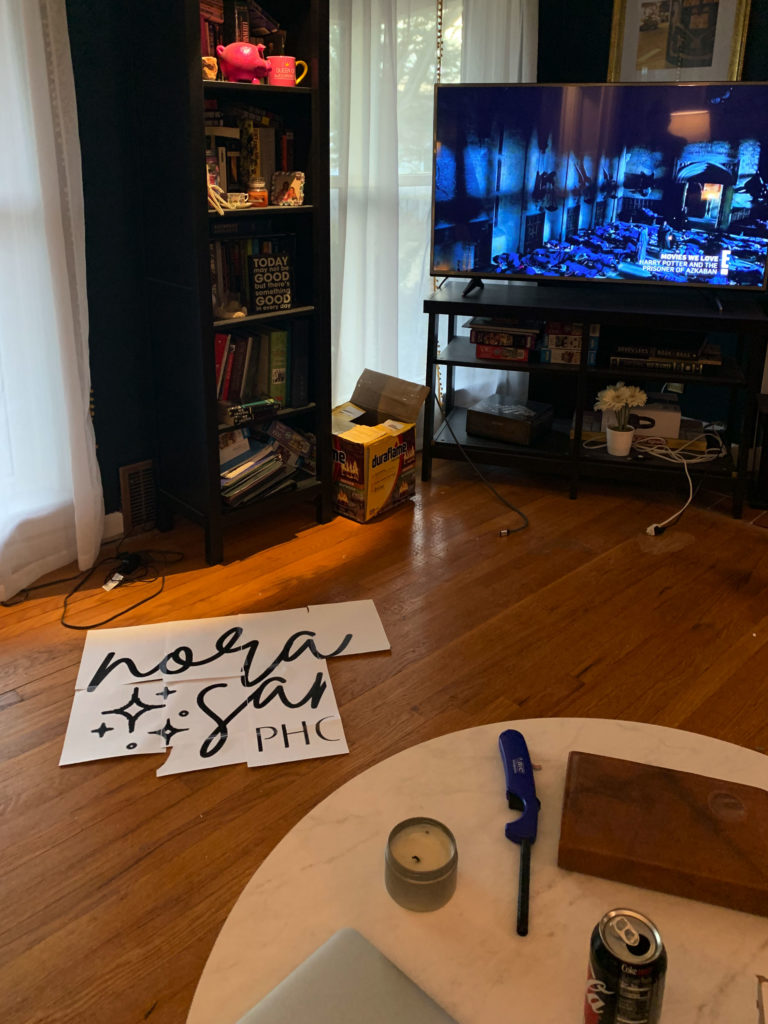
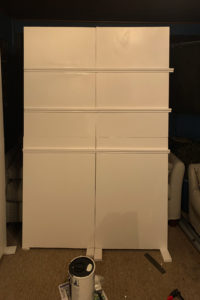
Then, I had to touch up the paint where I had trimmed and sanded it off, as well as paint the feet. At that point, I had a nice, solid white, self-standing wall in the middle of the sunroom. Now, what was I to do with it? I knew I wanted to paint my logo on it somehow, but wasn’t sure of the best way to do that. We don’t have a projector on hand, and I don’t have a Cricut, which would have been convenient, so I started looking into some options as far as printing it really, really large and then finding a way to transfer it on to the wall. After some interneting regarding the best way to print one image across multiple sheets of paper, I found a resource that gave me a strategy using Excel (or Numbers, in my case). You insert the image in the spreadsheet, scale it really really really big, then change your print settings to reflect that you want it to print across multiple pages. Here’s the article I used:
https://robservatory.com/span-one-large-image-across-multiple-printed-pages/
It took some troubleshooting and a couple of pratice runs to get the size correct (thank God we recycle!) but ultimately, I got my logo printed across 12 pages, cut out the margins, taped it together then hung it on my “wall.”
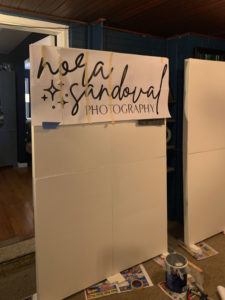
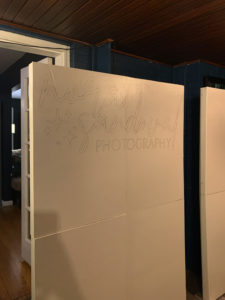
After that, I had to figure out how to transfer it; I remembered that I had some carbon paper on hand from a previous project, and though it was only 8×10, I decided to just use that due to convenience. I placed it behind my “stencil,” used a mechanical pencil without any lead to trace over the outlines of the logo, and then moved the carbon paper behind the next tile of the logo. When I was all done, I had a faint graphite outline of my logo on the wall, and was ready for the next steps!
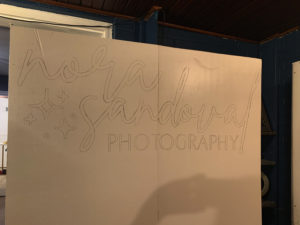
Since I decided to use fewer of the panels than I built, I used one as a test panel to see how paint would work as far as my logo went. I had some old black latex paint on hand, so I gave that a shot, but I wasn’t able to keep my edges as crisp as I wanted. So, I used a sharpie. Or, perhaps more accurately, 5 sharpies. On a subsequent trip to the Home Depot, I discovered the Sharpie Pro, which changed my life:
https://www.homedepot.com/p/Sharpie-Magnum-Permanent-Marker-in-Black-44101PP/202260682
The alcohol in the regular sharpie combined with the latex paint did not place together nicely, but the Sharpie Pro fixed that problem straight away. Thus, I spent one morning slowly slowly slowly coloring in my logo with Sharpie, until it was solid and looked legit.
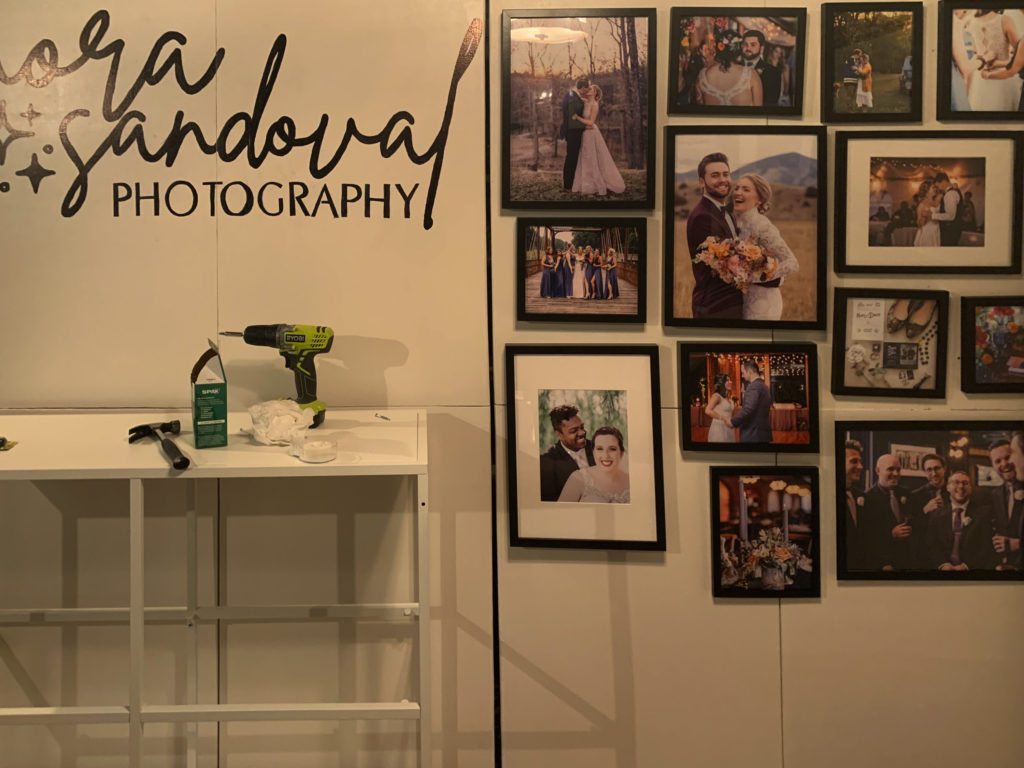
After that, I assembled my gallery wall with a combination of frames from around our house and several new ones from Ikea; this just took a lot of trial and error to see what would look the best.
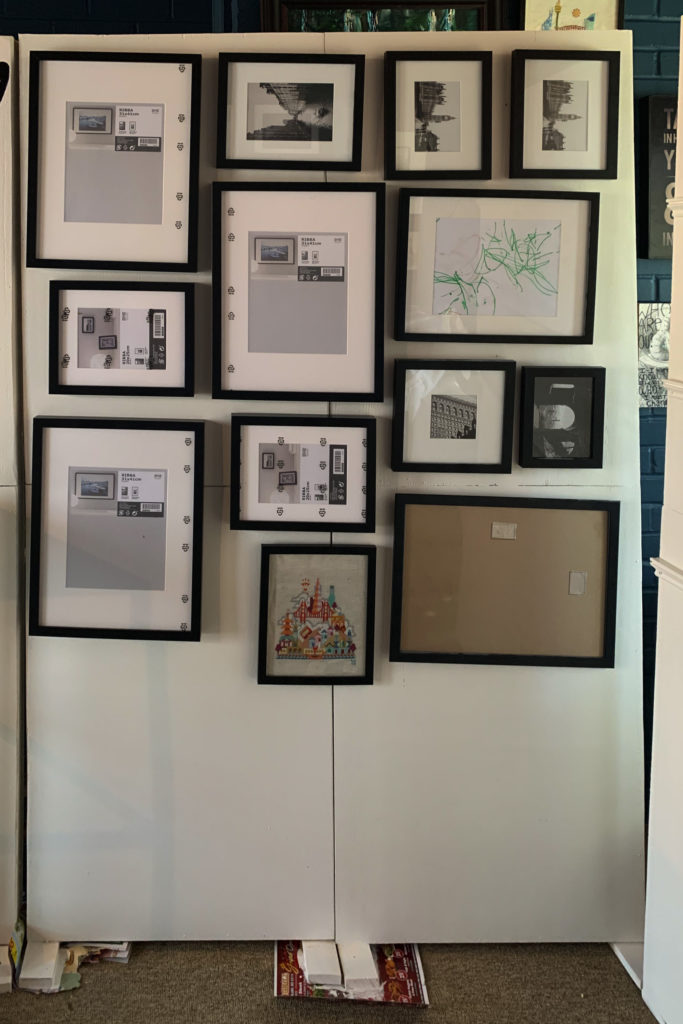
Once I determined the order for the frames, I numbered the nail holes and put the corresponding number on the back matte of the frame, so it would be easy to determine which went where when I was setting up.
For my side wall, I knew I wanted to do a couple of picture ledges so I could display a bunch of 4×6 prints; I decided to use some shoe molding from the Home Depot to create this ledge, and that I would troubleshoot how to get the prints to stand up later. With the help of wood glue, the clamps, a fully charged drill and some choice curse words, I managed to get the molding attached the the panel and then painted it white to match the background.
Figuring out how to get the prints to stand up came to me later when I was at Office Depot and discovered these: https://www.officedepot.com/a/products/166953/Deflect-O-SuperGrip-Sign-Holder-12/
They have a sticky strip at the bottom that you peel off, and then you slide the “sign” or in my case, the 4×6 print, in between the plastic edges and it stands all by itself! I installed these on site once I did all of my setup, since I didn’t want anything to get squished in transport.
While I was at Ikea picking up frames, I also grabbed this console table to put in front of my wall, so I could have some real estate for my albums, brochures and business cards at the show. It was tough to find one that was tall enough to look proportionate next to my wall, but this one from Ikea did the trick! It was fairly straightforward assembly-wise (I can’t believe I actually typed that) and ultimately, I ended up breaking it down to bring to the show and re-assembling it onsite since I didn’t have enough room in the car with everything else to transport it in one big piece. So far, I’ve assembled, disassembled and reaassembled it like four times? and it’s held up pretty well!
https://www.ikea.com/us/en/p/vittsjoe-shelf-unit-white-glass-10305802/
Following that, it just became a question of deciding what other things I would bring to furnish my booth, so I started collecting items from around our home that would complement my aesthetic. One thing that was super important was lighting, because I wasn’t sure what the overhead situation would be at the venue and I wanted to make sure that you could see the work I was showing off! I picked up these guys at Ikea, which I clipped to the back of the frame and pointed downward toward my gallery wall:
https://www.ikea.com/us/en/p/naevlinge-led-clamp-spotlight-black-30449885/
I had paid for my booth to have electrical access, so I just plugged three of those guys into my power strip and was ready to go. Ikea has several other options for cabinet lights/picture lights that would also work, depending on your aesthetic. What I liked about these ones was that I already had them in my living room and so the commute time to retrieve them was minimal.
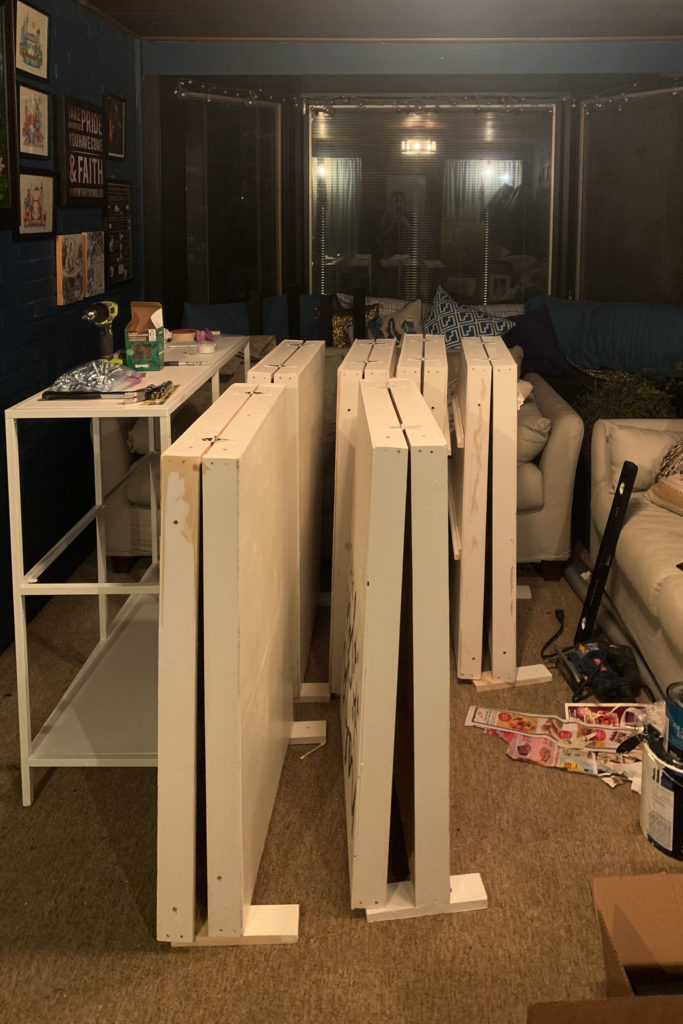
After that, I got everything packed up and ready to move! Take a look:
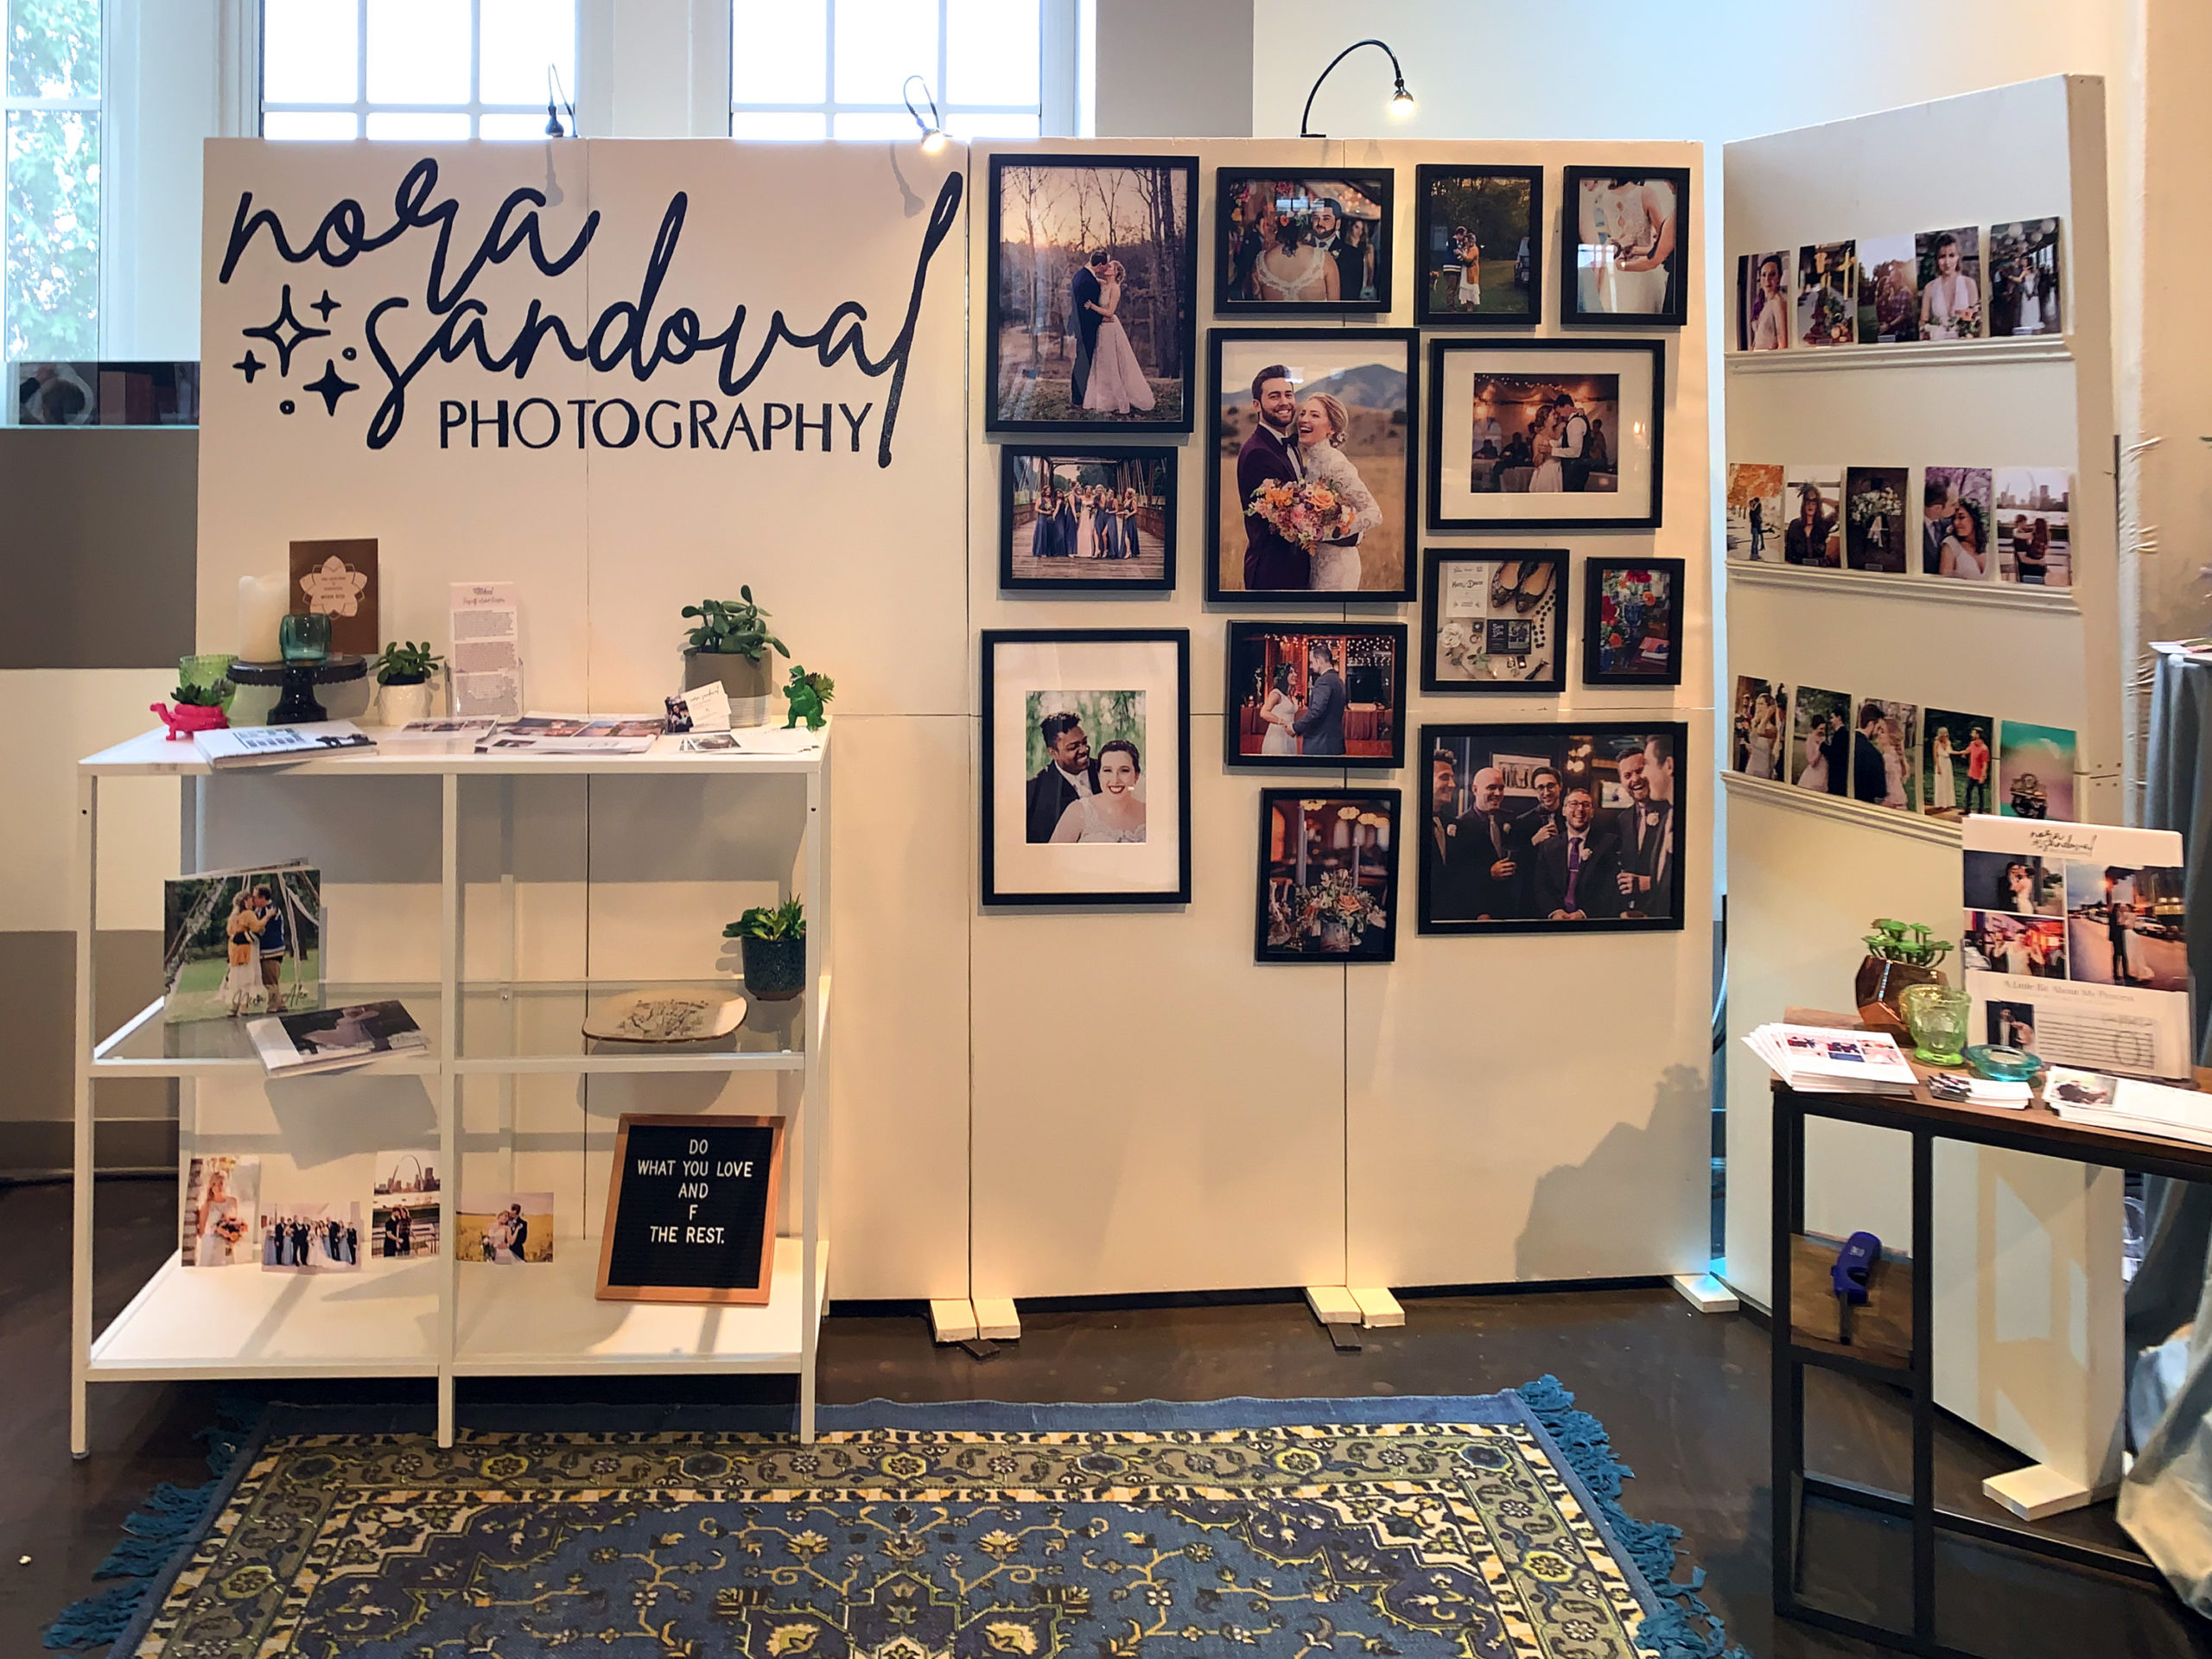
And here’s a look at the final product! Not too shabby, I don’t think!


Hopefully, if you’re wanting to build a booth, this post helped you a little bit! I’m happy to answer any questions you might have, just get at me! Thanks for reading!
ALSO, check out Off-White here – they are a wonderful collection of STL Vendors committed to doing non-traditional weddings and I love every single vendor on that list: https://offwhitestl.com


COMMENTS